Alight Motion has rapidly become a go-to app for mobile video editors, thanks to its powerful features and user-friendly interface. One of its standout features is the masking tool, a versatile function that allows you to control what parts of your video are visible. Whether you’re a beginner or a seasoned editor, mastering the masking tools in Alight Motion can significantly enhance your video projects. In this tutorial, we’ll dive deep into how to use masking tools on Alight Motion, providing you with a step-by-step guide to create stunning visual effects.
Understanding Alight Motion Masking Tools
Masking tools are essential for anyone looking to add a professional touch to their videos. But what exactly are they? In simple terms, masking allows you to hide or reveal parts of your video or image by defining a specific area. Alight Motion offers various types of masking tools, including rectangle, circle, and freeform masks, each with its unique applications. Understanding these tools is crucial as they help in isolating elements, creating transitions, and adding layers of creativity to your projects.
Getting Started with Alight Motion
Before we jump into masking, let’s ensure you’re all set up with Alight Motion. If you haven’t installed it yet, you can download it from your respective app store. Once installed, familiarize yourself with the interface. The masking tools are located in the toolbar, typically under the “Effects” or “Shapes” categories. Navigating the app and understanding where the tools are will make the masking process much smoother.
Basic Concepts of Masking
Masking might sound complicated, but it’s actually quite straightforward once you understand the basics. Unlike cropping, which permanently removes parts of your video, masking simply hides or reveals parts of your footage without altering the original file. This makes masking an ideal technique for creative editing, where precision and flexibility are key. Common uses of masking include creating text reveals, isolating subjects, and blending multiple clips seamlessly.
Using the Rectangle Mask Tool
The rectangle mask is one of the simplest and most commonly used masking tools in Alight Motion. To apply it, select the rectangle tool from the masking options and drag it over the area you want to isolate. You can adjust the size and position of the mask by dragging the corners or edges. For instance, you might use a rectangle mask to highlight a specific part of the screen or to create a split-screen effect. The simplicity of the rectangle mask makes it a great starting point for beginners.
Using the Circle Mask Tool
If you’re looking to highlight a circular area of your video, the circle mask is your best bet. To use it, select the circle mask tool and drag it over the desired area. Adjust the size by dragging the edges in or out. The circle mask is perfect for spotlight effects, where you want to draw attention to a specific part of the video. For example, you could use it to focus on a character’s face or a particular object within a scene.
Using the Freeform Mask Tool
The freeform mask tool offers the most creative freedom, allowing you to draw any shape you need. This tool is particularly useful for masking irregular shapes that don’t fit neatly into rectangles or circles. To use it, select the freeform mask and draw your desired shape directly onto the video. This tool is fantastic for creating custom effects, such as masking out complex backgrounds or isolating subjects in motion.
Combining Masks for Complex Effects
One of the most powerful features of masking in Alight Motion is the ability to combine multiple masks to create complex effects. For example, you can layer a rectangle mask with a circle mask to create a unique frame for your video. By adjusting the opacity and blending modes of each mask, you can achieve a variety of visual effects that add depth and interest to your projects.
Masking and Keyframes
Keyframes are another essential feature in Alight Motion that work seamlessly with masking tools. By setting keyframes, you can animate your masks, making them move, grow, or shrink over time. This is particularly useful for creating dynamic effects like revealing text or transitioning between scenes. To animate a mask, simply place keyframes at different points on your timeline and adjust the mask’s properties at each keyframe.
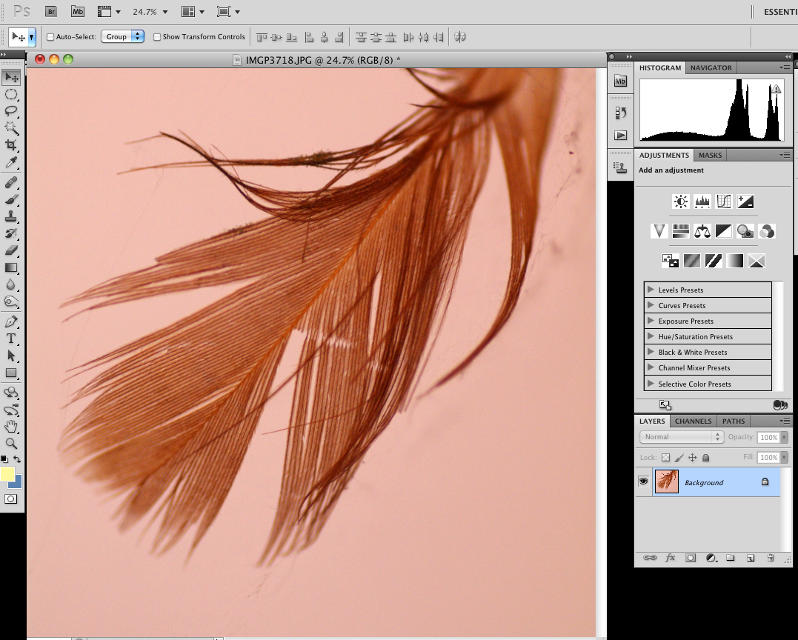
Masking with Images and Videos
Masking isn’t limited to just video clips; you can also apply masks to images within Alight Motion. This opens up a wide range of creative possibilities, such as creating picture-in-picture effects or designing custom transitions between images. Similarly, you can mask video clips to create smooth transitions or to overlay videos in a creative way. For instance, masking can be used to create a “video within a video” effect, where one clip plays inside a masked area of another clip.
Tips for Precision Masking
Achieving precision in masking can be challenging, but with a few tips, you can master it. First, use the zoom tool to get a closer view of your work area, allowing for more accurate placement of your masks. Additionally, Alight Motion provides guides and grids that can help you align your masks perfectly. Don’t forget to use the feathering option to soften the edges of your mask, which can help blend the masked area more naturally into the rest of the video.
Troubleshooting Common Masking Issues
Like any tool, masking can sometimes present challenges. One common issue is overlapping masks, where multiple masks interfere with each other. To solve this, make sure your masks are properly layered and that their blending modes don’t conflict. Another issue might be misaligned masks, especially when working with keyframes. Double-check your keyframes and adjust them if necessary to ensure smooth transitions. If your mask animation is not working as expected, check the timeline and ensure that the keyframes are properly set up.
Creative Uses of Masking Tools
Masking tools are incredibly versatile and can be used for a wide range of creative effects. For example, you can create a text reveal effect by masking over text and then animating the mask to slide away, revealing the text underneath. Another popular use is creating shape animations, where you mask different parts of your video to form dynamic shapes that change over time. Additionally, masking can be used for unique transitions, such as a masked wipe that gradually reveals the next scene.
Advanced Masking Techniques
For those looking to take their masking skills to the next level, advanced techniques like 3D masking effects can add a new dimension to your projects. By combining masks with other effects, you can create the illusion of depth, making objects appear to pop out of the