In today’s digital world, animation is not just for cartoons and movies; it’s a powerful tool in content creation that can bring static images to life, adding a dynamic element to your storytelling. Whether you’re creating social media posts, marketing videos, or personal projects, Animation Essentials can enhance your content and make it more engaging. One of the most popular tools for creating animations is Alight Motion. This powerful app allows you to animate still images with ease, making it accessible even to beginners. In this guide, we’ll explore how you can use Alight Motion to transform your still images into captivating animations.
Understanding Alight Motion
What is Alight Motion?
Alight Motion is a mobile application designed for motion graphics, video editing, and animation. Available on both Android and iOS, this app offers a wide range of features that allow users to create professional-quality animations directly from their smartphones. It’s particularly popular among content creators for its user-friendly interface and robust feature set, which includes keyframe animation, multiple layers, blending modes, and more.
Key Features of Alight Motion
- Keyframe Animation: Control the movement of objects over time.
- Multiple Layers: Stack images, videos, and audio for complex animations.
- Blending Modes: Combine layers creatively for unique visual effects.
- Vector and Bitmap Support: Work with different image types seamlessly.
- Color Adjustment: Fine-tune the look of your animation with color correction tools.
Why Choose Alight Motion?
Compared to other animation tools, Alight Motion stands out for its accessibility and flexibility. Whether you’re a beginner looking to create simple animations or a professional aiming to produce complex motion graphics, Alight Motion provides the tools you need without the steep learning curve associated with more advanced software like Adobe After Effects.
Getting Started with Alight Motion
Downloading and Installing Alight Motion
Getting started with Alight Motion is straightforward. Simply head to the Google Play Store or Apple App Store, search for Alight Motion, and download it. Once installed, open the app and you’ll be greeted with a clean, intuitive interface that’s easy to navigate.
Overview of the Interface
The Alight Motion interface is divided into several key areas:
- Project Browser: Where you manage your projects.
- Timeline: The heart of your animation work, where you arrange and control the timing of elements.
- Layer Panel: Allows you to add and manage different layers of content.
- Preview Window: Where you see a real-time preview of your animation.
Basic Settings and Configurations
Before diving into your first project, it’s important to configure the basic settings. Set your project resolution, frame rate, and background color according to the needs of your animation. These settings can be adjusted later, but starting with the right configuration can save time.
Importing Still Images
How to Import Still Images into Alight Motion
To start animating, you’ll need to import your still images into the project. Tap the plus icon, select “Image” from the options, and choose the file you want to use. Alight Motion supports a variety of image formats, including JPEG, PNG, and SVG, ensuring compatibility with most image files.
Supported File Formats for Images
Alight Motion supports both vector and raster images. Vector files like SVG are ideal for maintaining quality at any size, while raster formats like JPEG and PNG are commonly used for photographs and detailed artwork.

Tips for Selecting the Right Images for Animation
Choosing the right images is crucial for creating compelling animations. Opt for high-resolution images with a clear subject and minimal background noise. This ensures that the animated elements stand out and the overall effect is visually appealing.
Creating Basic Animations
Introduction to Keyframes
Keyframes are the foundation of animation in Alight Motion. They define the start and end points of an animation, with the app automatically filling in the motion between them. By adding keyframes at different points on the timeline, you can control the movement, scale, rotation, and other properties of your images.
Adding Motion to Still Images
To add motion to your still image, select the image layer in the timeline, tap the keyframe icon, and move the playhead to where you want the motion to end. Adjust the position of the image, and a keyframe will automatically be added. Play back the animation to see your still image come to life.
Basic Transition Effects
Transitions can add polish to your animations. Alight Motion offers a variety of transition effects, such as fades, wipes, and slides. These can be applied to the beginning or end of a layer to create smooth, professional-looking transitions between different scenes or elements.
Using Easing for Smoother Animations
Easing controls the speed of your animation, making movements more natural by accelerating or decelerating them. Alight Motion provides several easing options, including linear, ease-in, ease-out, and custom easing curves. Experimenting with these can help you achieve a more polished final product.
Advanced Animation Techniques
Layer-Based Animation: Working with Multiple Layers
Layering is a powerful technique in Alight Motion. You can stack multiple images, shapes, and text layers, each with its own animation, to create complex scenes. Layers can be reordered, grouped, and masked to control which elements are visible at any time.
Adding and Editing Masks
Masks allow you to hide or reveal parts of a layer, creating intricate animations that would be difficult to achieve otherwise. Alight Motion supports both simple geometric masks and more complex custom shapes, giving you full control over how your images interact with each other.
Creating Complex Animations with Motion Paths
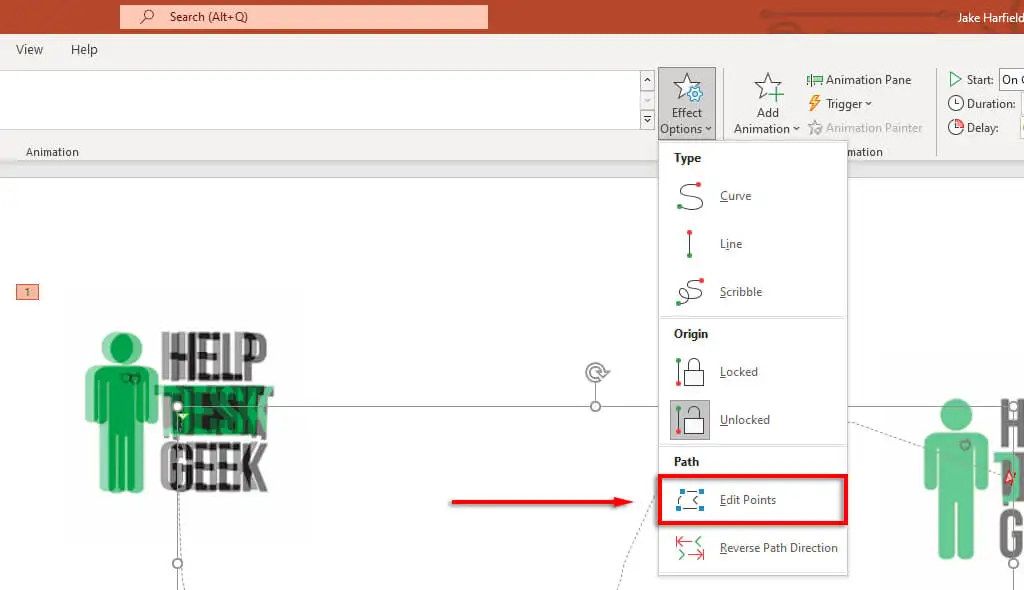
Motion paths are another advanced feature that lets you define the exact path an object will follow. Instead of a straight line, you can create curves and other shapes, adding a dynamic, flowing motion to your animations.

Using Blending Modes for Creative Effects
Blending modes determine how layers interact with each other. For instance, the Multiply mode can be used to darken the image, while the Screen mode can lighten it. By experimenting with different blending modes, you can achieve unique visual effects that enhance your animation.
Text Animation Essentials
Adding Text to Your Animations
Text can be a powerful addition to your animations, providing context or emphasis. In Alight Motion, you can add text by selecting the text tool, typing your desired content, and positioning it on the timeline.
Animating Text for Impact
Animating text is as simple as animating any


